How to Choose a 3D Scanner in 2026
Published November 11, 2026
Products in this guide
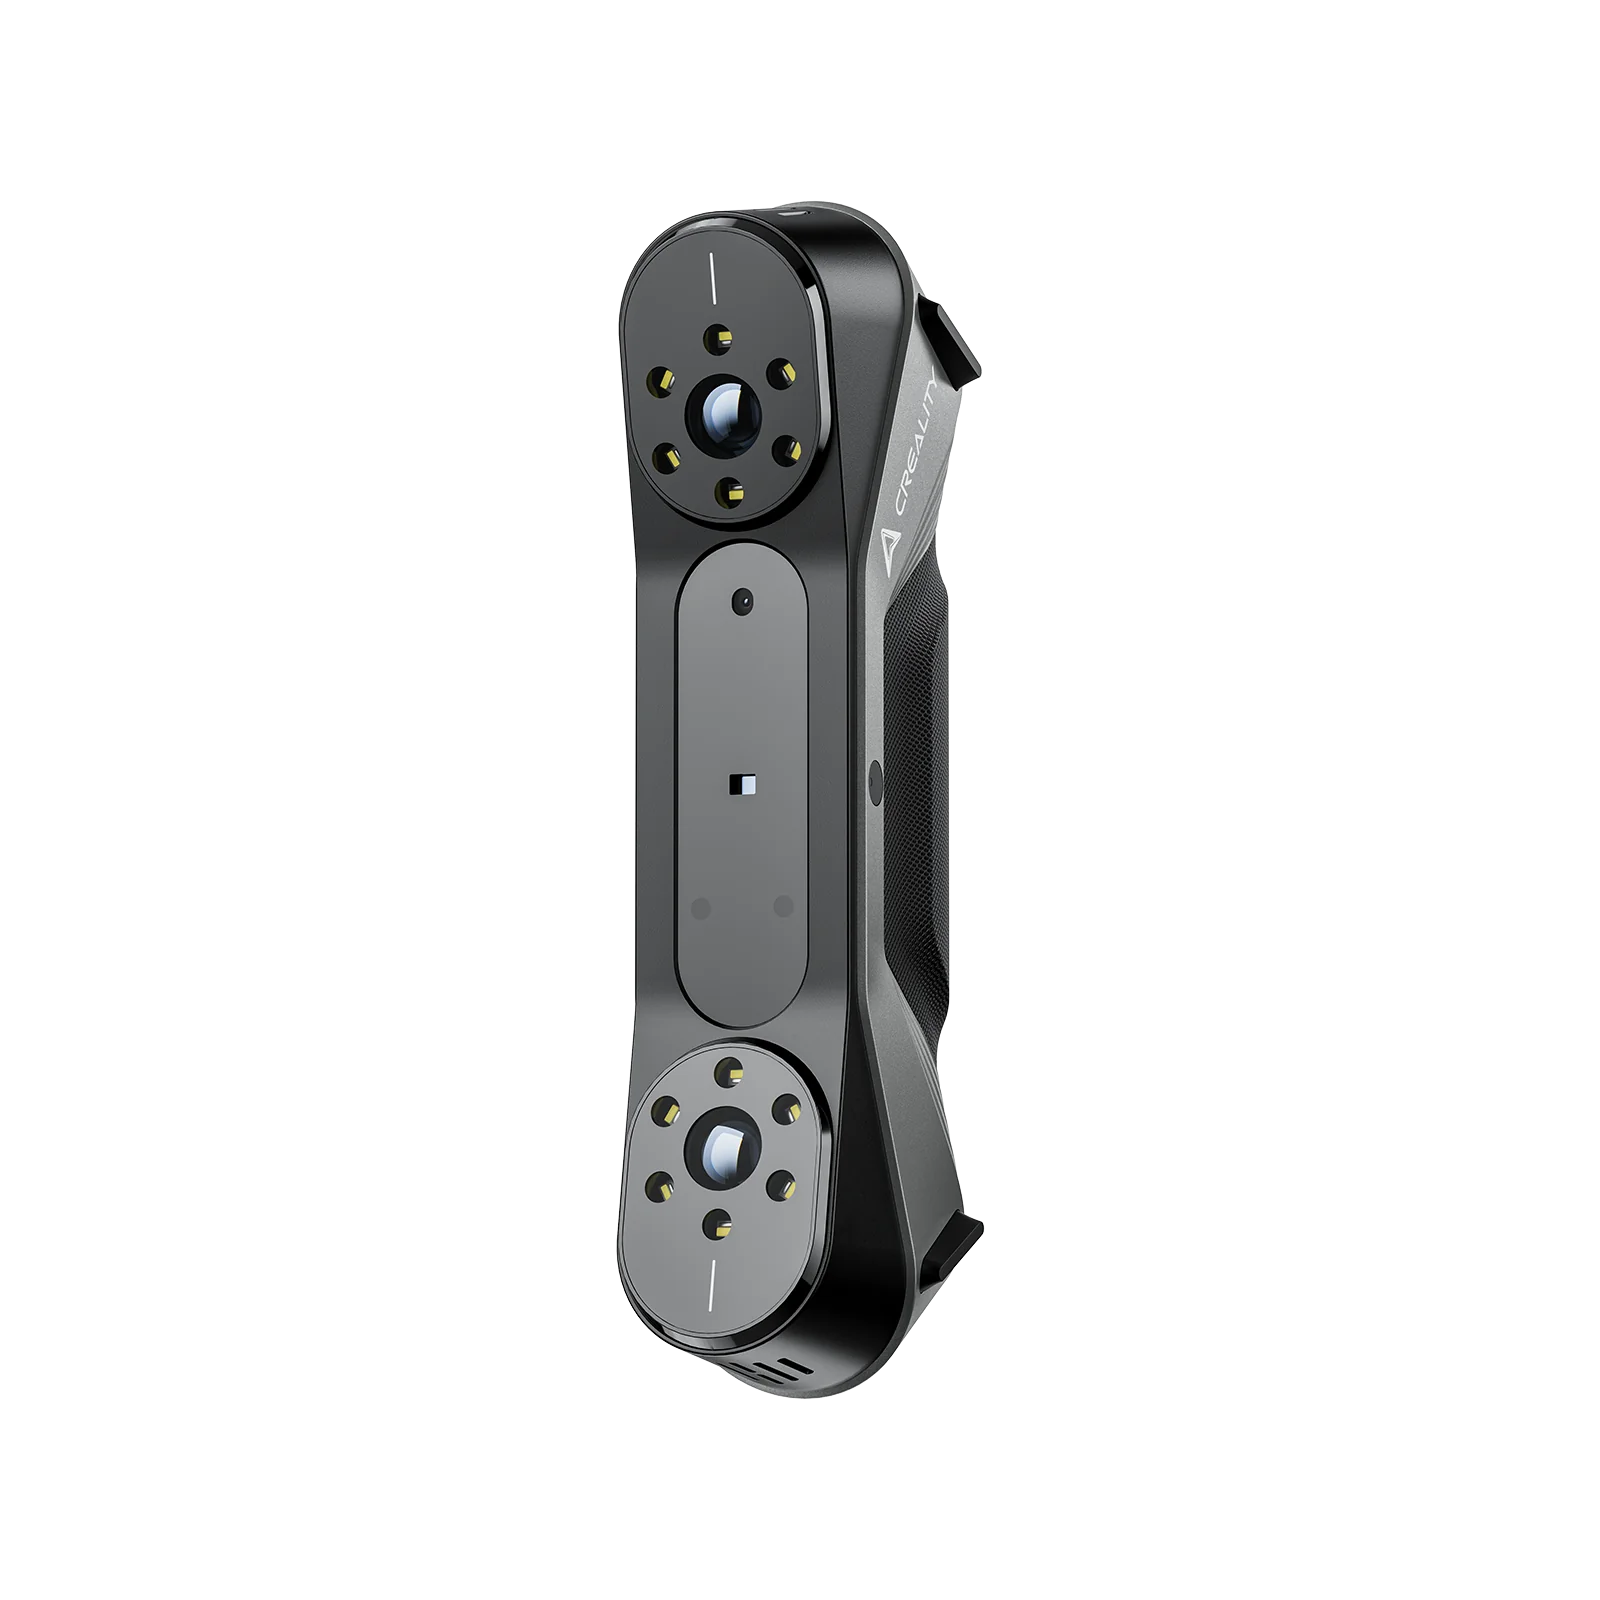
In this article
Choose a 3D scanner by accuracy, resolution, laser vs structured light, working distance and scanning range. Quarts and price do not show how well you can capture a small detail or scan a large object. Favor a sensor type that matches your subject size, a usable working distance and a scanner that stays stable during a scan [1].
Is a 3D scanner worth it in 2026?
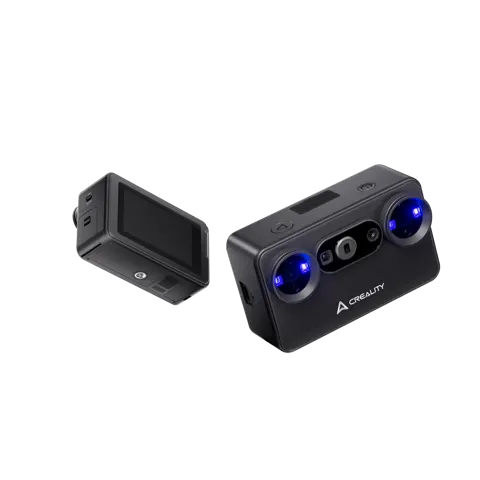
Worth it for rapid prototyping, reverse engineering, digital preservation and measuring physical objects. A 3D scanner creates a point cloud or mesh from real surfaces, which can be exported to CAD, 3D modeling software or printing tools. A Creality 3D Scanner Collection - Otter Lite captures 0.05mm accuracy at 100mm distance in about a second per frame [2].
Skip one if you only need a rough visual model or can measure with calipers and a tape measure. A 3D scanner is not a camera; it needs consistent lighting, stable geometry and a flat or gently curved surface to avoid holes. A simple CAD model or a paper template may be faster for a one-off shape. A hobbyist-level scanner may struggle with shiny, transparent or highly reflective materials without post-processing.
Overshooting your needs can be wasteful. A high-resolution laser scanner for industrial metrology is overkill for a quick scan of a toy or a small part. Conversely, a low-cost structured-light device may not achieve the repeatability you need for functional parts or tight tolerances.
What actually matters
1. Accuracy and resolution, not headline specs
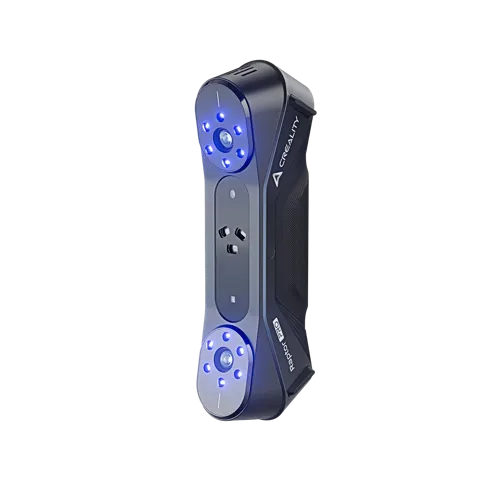
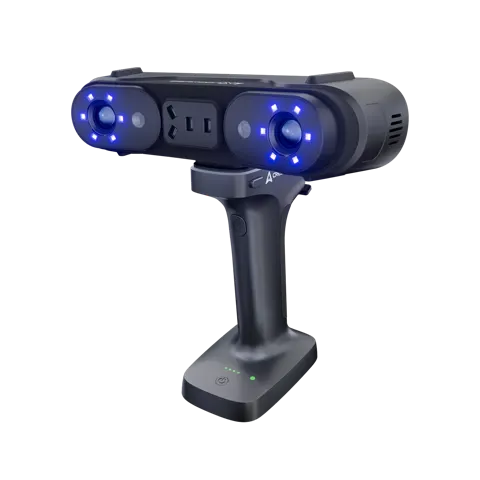
Accuracy is the distance between the measured point and the true surface. The Creality CR-Scan Raptor 3D Scanner - Raptor achieves 0.02mm accuracy in blue laser mode, which is useful for measuring small features or checking fit between parts [3]. The Creality CR-Scan Otter 3D Scanner - Otter reaches up to 0.02mm at a 60mm working distance, which is closer to the scanner than the Raptor’s typical range [4]. Accuracy typically degrades at the far end of the working distance.
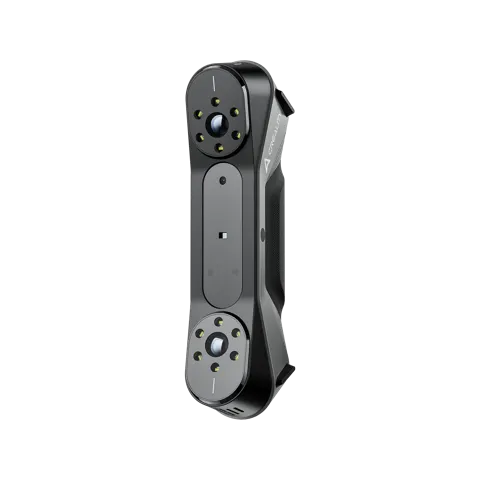
Resolution is the smallest distinguishable feature. The Creality Ferret 3D Scanner has a 0.16mm resolution, meaning features smaller than 0.16mm may not be captured clearly [5]. The Creality CR-Scan Ferret SE 3D Scanner - Ferret SE also lists 0.16mm 3D resolution, which is similar to the Ferret [6]. A higher resolution helps capture fine details like texture, fillets and small holes.
Do not confuse accuracy with resolution. A scanner may have high accuracy but low resolution (many points per area but blurry edges), or vice versa. Both matter for different use cases: accuracy for dimensional checks, resolution for fine detail.
Accuracy and resolution are best understood at a specific working distance. The Creality 3D Scanner Collection - Otter Lite specifies 0.05mm accuracy at 100mm, while the Otter reaches 0.02mm at 60mm [2][4]. The Creality CR-Scan Ferret SE is rated up to 0.1mm high accuracy with 0.16mm resolution over its 150mm to 2000mm range [6]. Check whether the spec is given at a comfortable distance for your typical objects.
Rule of thumb: Choose a scanner whose accuracy and resolution are adequate for the smallest feature you need to measure or capture, and that is specified at a working distance close to your typical subject size.
2. Sensor type: laser vs structured light
Laser scanners project a line or dot pattern of coherent light. They work well on matte, dark or non-reflective surfaces and can achieve very high accuracy. The Creality CR-Scan Raptor 3D Scanner - Raptor uses 7 parallel blue laser lines for high-speed, high-accuracy scanning [3]. The Creality CR-Scan Otter 3D Scanner - Otter also employs 7 parallel blue laser lines, which help capture fine edges and textures [4]. Blue laser is common for handheld scanners because it is eye-safe and visible for alignment.
Structured-light scanners project a pattern of light (often NIR) and decode the distortion. The Creality 3D Scanner Collection - Otter Lite uses NIR binocular structured light, which can be less sensitive to ambient light and works well on a wider range of surfaces [2]. Structured-light scanners are often more compact and lighter because they do not need high-power lasers. The Creality Ferret 3D Scanner weighs only 105g, which makes it easy to hold and scan handheld [5]. The Creality Pika 3D Scanner weighs 260g and has a small form factor of 100 x 60 x 35mm, which is convenient for quick scans or field work [7].
Both types have trade-offs. Lasers can be more sensitive to reflections, especially on glossy surfaces, and may require careful alignment. Structured-light is generally more robust to lighting changes but can be affected by very dark or highly reflective surfaces. The choice depends on your typical subjects and environment.
Rule of thumb: If you mostly scan matte or dark objects, a laser scanner may be a good fit. If you scan a mix of surfaces and want a compact, lightweight device, a structured-light scanner can be more convenient.
3. Working distance and scanning range
Working distance is the distance from the scanner to the object. The Creality CR-Scan Otter 3D Scanner - Otter works from 10x10x10mm up to 2000x2000x2000mm, meaning you can start very close or move far away [4]. The Creality CR-Scan Ferret SE 3D Scanner - Ferret SE covers 150mm to 2000mm, which is useful for scanning medium-sized objects like a head, a figurine or a small engine part [6]. The Creality 3D Scanner Collection - Otter Lite has a 20mm to 2000mm range, which is similar to the Ferret SE but with structured light [2].
A short working distance means you can get close to small objects but may struggle to scan large items. The Creality CR-Scan Otter 3D Scanner - Otter’s 10mm starting point is useful for tiny parts, but you cannot scan a full-size sculpture from a distance. The Creality Pika 3D Scanner is only 100 x 60 x 35mm, which makes it easy to maneuver close to small subjects [7].
A long working distance lets you step back from large objects, but details may be harder to capture. The Creality CR-Scan Ferret SE and Otter Lite both support up to 2000mm, which is useful for scanning a full-size human head or a large part [2][6]. However, moving further away reduces the field of view and can increase noise in the point cloud.
Consider your typical object sizes. If you scan jewelry, small figurines or parts under 100mm, a scanner with a short working distance and small form factor is useful. If you scan busts, automotive parts or large prototypes, a long-range scanner is more practical.
Rule of thumb: Choose a scanner whose working distance and scanning range cover the sizes of the objects you most often scan, and that lets you maintain a comfortable distance from the subject.
4. Scan speed and frame rate
Scan speed determines how quickly you can capture a model. The Creality CR-Scan Raptor 3D Scanner - Raptor reaches up to 60fps, which is fast for handheld scanning of medium-sized objects [3]. The Creality 3D Scanner Collection - Otter Lite captures 30fps, which is also fast and useful for quick scans of moderately sized objects [2]. The Creality CR-Scan Ferret SE 3D Scanner - Ferret SE and Creality Ferret 3D Scanner both offer up to 30fps, which is sufficient for many use cases [5][6].
A higher frame rate reduces the risk of motion blur and makes handheld scanning easier. When you move the scanner, you want the device to capture many points per second, so the final mesh is smooth and continuous. Slow frame rates can leave gaps or require more passes to fill holes.
Scan speed is best understood in the context of your workflow. If you scan a few objects per day, 30fps may be plenty. If you scan dozens of parts per week for prototyping, a 60fps scanner can save significant time. However, scan speed is not the only factor: accuracy, resolution and software quality also matter.
Rule of thumb: Choose a scanner whose frame rate matches your scanning volume and comfort level; a faster scanner can reduce fatigue and increase productivity, but it is not a substitute for accuracy and resolution.
5. Size, weight and ergonomics
Size and weight affect how easy the scanner is to hold and move. The Creality Ferret 3D Scanner weighs 105g, which is very light and makes it easy to scan handheld for long periods [5]. The Creality Pika 3D Scanner weighs 260g and has a compact form factor, which is convenient for quick scans and field work [7]. The Creality CR-Scan Raptor 3D Scanner - Raptor is larger and heavier, which can be a disadvantage for handheld use but may be acceptable for tabletop or fixed setups.
Ergonomics matter for comfort and stability. A lightweight, balanced scanner is easier to control, which reduces the risk of motion blur. Some scanners have grips or handles designed for comfortable scanning; others are small blocks that you hold with your fingers. Consider whether you prefer a handheld scanner, a tripod-mounted device, or a combination.
Weight and size also affect portability. If you scan on-site, at a client’s office or in a workshop, a compact, lightweight scanner is easier to carry. A bulky scanner may be limited to a fixed station.
Rule of thumb: Choose a scanner that feels comfortable to hold and move for the types of scans you perform most often; ergonomics can make the difference between a pleasant experience and fatigue.
6. Software, exports and ecosystem
Software determines how easy it is to process and use the scans. Most scanners come with proprietary software that can align, clean, mesh and export point clouds or meshes. The Creality CR-Scan Raptor 3D Scanner - Raptor supports 24-bit full-color scanning, which can be useful for capturing texture and color [3]. The Creality 3D Scanner Collection - Otter Lite captures 30fps and exports point clouds and meshes, which can be imported into CAD or 3D printing software.
Export formats matter for your workflow. Common formats include .obj, .stl, .ply, .fbx and .xyz. Check whether the scanner supports the formats you use in your design or manufacturing pipeline. Some scanners integrate with cloud services or mobile apps for remote scanning and sharing.
Ecosystem includes firmware updates, community support and accessories. A scanner with active development, good documentation and a user community can be easier to use and troubleshoot. Accessories like calibration targets, stands, protective cases and cleaning kits can also improve the experience.
Rule of thumb: Choose a scanner whose software and ecosystem match your technical level and workflow; a scanner with poor software can make even high-quality scans difficult to use.
Types compared
| Type | Best when | Main drawback |
|---|---|---|
| Handheld laser scanner (high accuracy) | Measuring small parts, reverse engineering, tight tolerances | Requires steady hand, can be sensitive to reflections |
| Handheld structured-light scanner (compact) | Quick scans of mixed surfaces, portability, field work | Lower accuracy than laser, limited range on very small objects |
| Handheld mixed-mode scanner | Versatility across object sizes and surface types | Larger, heavier, more complex to use |
| Fixed/automated scanner | High-volume scanning, industrial metrology | Expensive, requires fixed setup, less portable |
3D scanners for beginners, hobbyists, professionals and industrial use
Beginners: The Creality Pika 3D Scanner is small, lightweight (260g) and compact (100 x 60 x 35mm), which makes it easy to learn on small objects [7].
Hobbyists: The Creality Ferret 3D Scanner weighs 105g and offers 0.16mm resolution, which is sufficient for capturing details in figurines and small parts [5].
Professionals needing high accuracy: The Creality CR-Scan Raptor 3D Scanner - Raptor achieves 0.02mm accuracy with 7 parallel blue laser lines and up to 60fps, which is useful for measuring small features and fast prototyping [3].
Professionals needing flexibility: The Creality 3D Scanner Collection - Otter Lite combines NIR binocular structured light with 0.05mm accuracy at 100mm and 30fps scanning, which is useful for scanning a wide range of objects from small parts to medium-sized subjects [2].
Heavy users: The Creality CR-Scan Ferret SE 3D Scanner - Ferret SE offers up to 0.1mm high accuracy, 0.16mm resolution, 150mm to 2000mm range and up to 30fps, which is a balanced choice for frequent scanning of medium-sized objects [6].
Features that are marketing noise
“Ultra-high resolution” is often a marketing term that does not translate to real-world usefulness. The Creality Ferret 3D Scanner lists 0.16mm resolution, which is useful but not a magic number. The Creality CR-Scan Ferret SE 3D Scanner - Ferret SE also lists 0.16mm, which is consistent with the Ferret [5][6]. Focus on what you actually need to capture.
“AI-powered” or “smart” scanning can be a gimmick unless the software actually improves alignment, hole filling or mesh quality. Some scanners bundle AI-based cleanup, but others do not. Check whether the feature is practical for your workflow.
“Cloud scanning” or “mobile app” is useful only if the app is stable, fast and integrates with your software. A scanner that promises cloud scanning but has poor app performance may be less convenient than a wired connection.
“Lifetime warranty” or “free support” are marketing claims that do not guarantee reliability. A scanner that breaks after a year is not worth a lifetime warranty if support is slow or unhelpful.
Prioritize accuracy, resolution, sensor type, working distance, frame rate, ergonomics and software over flashy marketing terms.
Rule of thumb: A scanner with accurate measurements, usable software and a sensor type that matches your subjects will be more useful than one with many marketing buzzwords.
Setup tips
- Choose a stable surface and good lighting. Avoid direct sunlight, strong reflections and moving objects.
- Align the scanner with the object and start at a comfortable working distance. The Creality CR-Scan Otter 3D Scanner - Otter works from 10mm, which is very close, but you may need to step back for larger objects [4].
- Move the scanner smoothly and steadily. Use slow, consistent motions and avoid sudden movements. The Creality 3D Scanner Collection - Otter Lite captures 30fps, which helps fill gaps during handheld scanning [2].
- Keep the scanner at a consistent distance and angle. Use a tripod or a guide if you are new to handheld scanning.
- Scan from multiple angles to ensure complete coverage. Overlap scans and let the software align them.
- Check the point cloud and mesh for holes, noise and artifacts. Clean up the model before exporting.
- Export in a format that matches your workflow. Common formats include .obj, .stl, .ply, .fbx and .xyz.
- Follow the manufacturer’s guidelines for calibration, maintenance and cleaning.
Maintenance and what wears out
Every use: Clean the sensor windows and lenses with a soft, dry cloth. Avoid touching the sensor with fingers or abrasive materials. The Creality CR-Scan Raptor 3D Scanner - Raptor and Otter both use blue laser lines, which can be sensitive to dust and scratches.
Periodically: Inspect the laser diodes, lenses and mirrors for damage or dirt. Check the battery life and charging system if the scanner is battery-powered. The Creality Pika 3D Scanner is small and may accumulate dust in its vents.
Ongoing supplies: Calibration targets, cleaning cloths and protective cases are common consumables. Some scanners support interchangeable lenses or sensors, which can extend their lifespan.
Lifespan: Laser diodes, lenses, sensors and control boards can eventually fail. There is no credible fixed service life for all 3D scanners. Replace damaged or recalled products according to official instructions rather than continuing use because the controls still work.
Common mistakes
- Creality Pika 3D Scanner — small, lightweight and compact, good for beginners and quick field scans.
- Creality Ferret 3D Scanner — lightweight (105g) with 0.16mm resolution, ideal for hobbyists and small parts.
- Creality CR-Scan Raptor 3D Scanner - Raptor — high-accuracy laser scanner (0.02mm) with 60fps, suited for professionals needing precise measurements.
- Creality 3D Scanner Collection - Otter Lite — NIR structured-light scanner with 0.05mm accuracy at 100mm and 30fps, versatile for mixed surfaces and object sizes.
- Creality CR-Scan Ferret SE 3D Scanner - Ferret SE — balanced scanner with up to 0.1mm accuracy, 0.16mm resolution and 150mm–2000mm range, useful for frequent scanning of medium-sized objects.
- Creality CR-Scan Otter 3D Scanner - Otter — high-accuracy laser scanner with 0.02mm at 60mm, 7 parallel blue laser lines and wide 10mm–2000mm range, suited for detailed work on small to medium objects.
Sources
[1] 3D Scanner Basics — Accuracy vs Resolution [2] Creality — Otter Lite 3D Scanner Specifications [3] Creality — CR-Scan Raptor 3D Scanner Specifications [4] Creality — CR-Scan Otter 3D Scanner Specifications [5] Creality — Ferret 3D Scanner Specifications [6] Creality — CR-Scan Ferret SE 3D Scanner Specifications [7] Creality — Pika 3D Scanner Specifications
See also: 3D Scanners under $1000 (2026)